Tree Tips

Magnolia Scale: They're Back!

By Mike McKee
ISA Certified Arborist®
June 20, 2024​

Hello! We have decided to revisit the topic of magnolia scale and add more information to this previously published article as we are in the middle of a larger magnolia scale infestation compared to last year (2023).

- - - - - - - - - - - - - - - - - - - - - - - - - - - - - -

Please note: This article was originally published on 8/9/2023 and was revised and republished on 6/20/2024.

Is your magnolia tree turning black? Is it attracting ants, flies, bees and wasps? Is there a sticky substance covering the leaves and everything under the plant? If you look closely, you will also see white blotches on the twigs throughout the tree.

This is an invasion of magnolia scale like we have not seen in several years. They happen to thrive in warm summers with abundant moisture. The population is building and is very apparent this year.

The insect overwinters on twigs and is inconspicuous to the untrained eye until it starts feeding and producing honeydew. Honeydew is the very sweet, sticky substance secreted by the insect that in turn coats the leaves and anything under the plant. This is what attracts other insects to the plant. Eventually the insect covers itself with a waxy coating that protects it while feeding. These are the white blotches we are now seeing on the plants starting early summer through August.

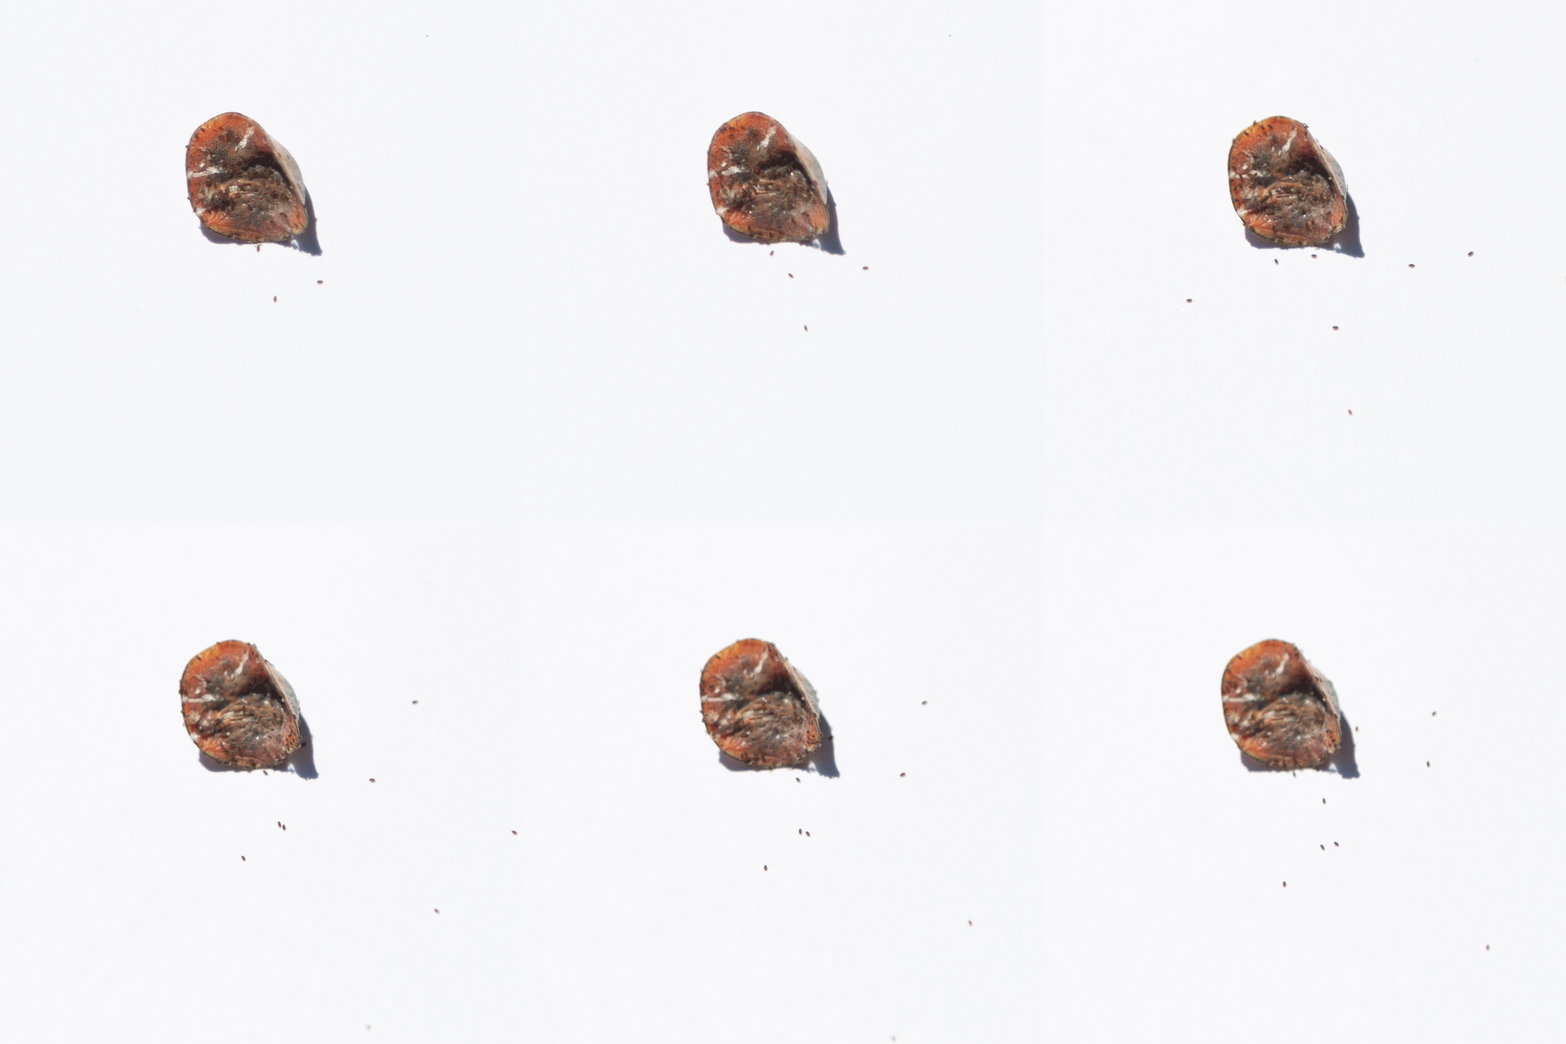
Nymphs emerging from a recently plucked adult Magnolia Scale

The juvenile stage of magnolia scale emerges from these waxy coatings (the adults) in mid to late August through September as crawlers. This is when scale are most vulnerable to insecticides and we attempt to control their population. We typically recommend 2 to 3 topical insecticide sprays during this period spaced a couple weeks apart for the best control of the insect due to the extended emergence. During seasons with larger infestations, it is unlikely that insecticide sprays will completely eliminate this insect. The overall goal of plant healthcare is to keep the population at a threshold that minimizes damage and maintains aesthetics of the host tree.

If the tree’s owner is concerned about the population of magnolia scale before the appropriate window for insecticide applications is open, there are a few DIY options that can be done. First, the insects can be scrubbed off from branches and leaves in June and July. This is when the adults are visible before the hatch begins. You could also prune out heavily infested Interior branches to help reduce numbers. Be sure to completely dispose of any pruned branches as the insect will still hatch. Spraying the trees with a medium pressure garden hose can also eliminate some insects as well as reduce the honeydew on the plants.


The insects feed by sucking sap out of the tree. If left untreated the scale population can grow to levels that will cause decline and eventual death in your tree.

Another issue with Magnolia scale is the occurrence of sooty mold which is a byproduct of the honeydew produced by the scale. It is a black fungal growth which is what most people notice first. Although this generally does not harm the tree, it is very unsightly.

In closing, if you have a magnolia in the landscape, give us a call and we will dispatch a certified arborist to your property to come out and complete an evaluation of the tree and make recommendations for the best management strategy. Timing is everything.

Sincerely,

Mike McKee | Regional Manager, Russell Tree Experts

Mike graduated from Hocking College in 1983 with a degree in Natural Resources specializing in urban tree care. He has been a certified arborist since 1991. Mike started his career in the private industry in 1985 before becoming a municipal arborist in 1989. He retired after serving thirty years before joining us at Russell Tree Experts in Sept. of 2018. His love of trees has never waned since trying to climb up the ridges of the massive Cottonwood tree in front of his childhood home.

How to Plant a Tree

Dear Reader,

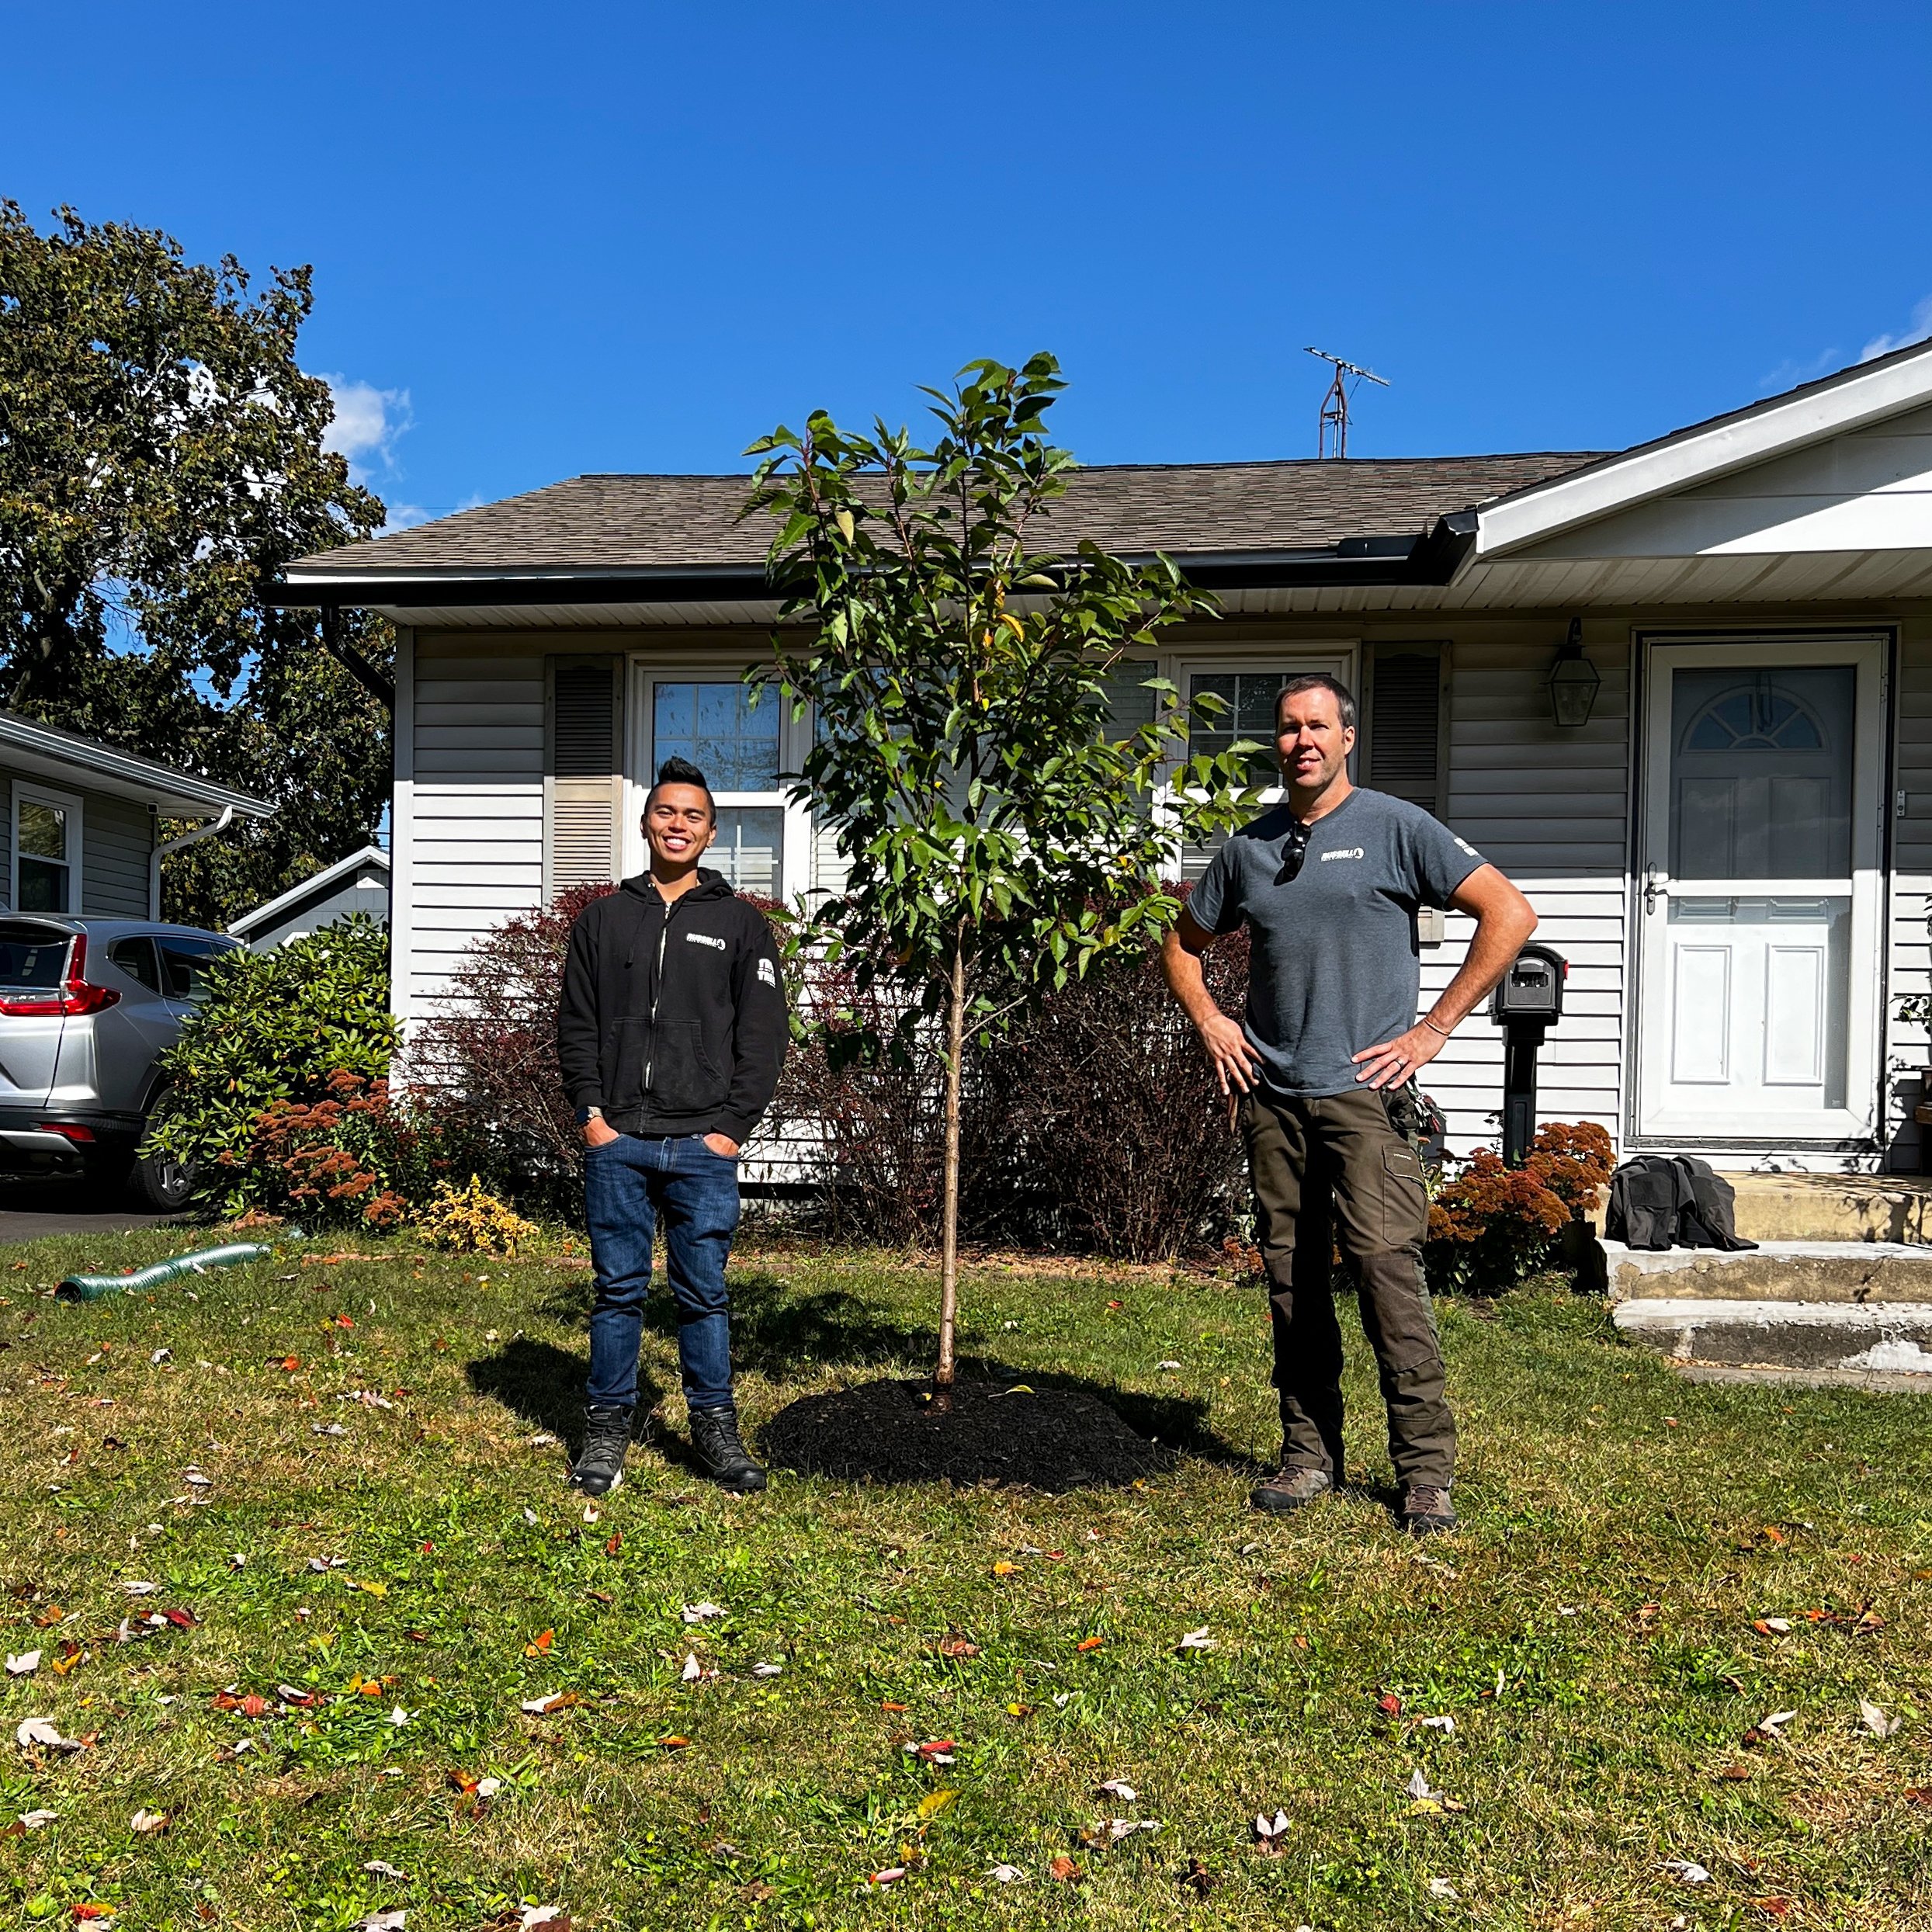
Today I would like to discuss step-by-step how Board Certified Master Arborist TJ Nagel plants a tree! He very kindly planted a kwanzan cherry tree for me at my house that was donated by him, Cindy, one of our office managers, and Mark, our fleet manager! At the bottom of this article is a YouTube video where you can visually follow along!

THE STEPS

  1. First, pick out a tree! TJ and I went to Oakland Nursery and selected a kwanzan cherry tree. To help in the planting process, we brought mushroom compost, mulch, a trowel, a shovel, and a pickaxe. Mushroom compost will help enrich the soil. Mulch will help with water retention, temperature regulation, protection from lawn mowers, and curb appeal. A trowel, a shovel, and a pickaxe will help in the digging process.

  2. Choose a tree planting site! We chose in front a picture window in the front yard for viewing pleasure and as it was a few feet away from any obstructions such as my neighbor’s driveway, the sidewalk, my front porch steps, and nearby plants. We also knew that we were not planting directly on top of any pipes or water lines.

  3. Dig your hole! The hole should be slightly wider but just a few inches shallower than the size of the tree’s pot. You will want a couple extra inches around the circumference of the root ball to pack in compost and dirt. We also like to plant most trees a few inches above the surrounding ground level as the tree could settle over the next couple of years, which is why the hole can be a few inches shallower than the depth of the root ball.

  4. Take the tree out from the pot and cut 4 straight lines across the root ball. This will break up and loosen both the dirt and roots which will help minimize the risk of stem girdling roots. Optionally, you can also clean up and remove any small or entangled surface roots.

  5. Test fit your tree and check if the hole’s depth is adequate. As mentioned earlier, you will want a few extra inches of space around the circumference of the tree and you will want the tree to sit a few inches above the surrounding ground level. Make adjustments to your hole if needed.

  6. Mix up the mushroom compost with the existing, dug up soil with an approximate 1:1 ratio to help enrich the soil and promote growth. You can break up any chunks of dirt to obtain a fine, well blended mixture. If a few grass blades end up in the mixture, it is okay as it will decompose and help enrich the soil with nutrients. As long as there is no significant sod or roots on the surface, there should be no significant risk of weeds. To further minimize the risk of weeds and for aesthetic purposes, we will be placing mulch over top of the soil.

  7. Place your tree in the the hole and fill it with your blended soil mixture! Be sure to keep your tree straight and upright while filling in your hole. You will want to lightly compact the soil mixture so that way the tree is stable during windy weather and does not lean or fall over.

  8. Water the soil!

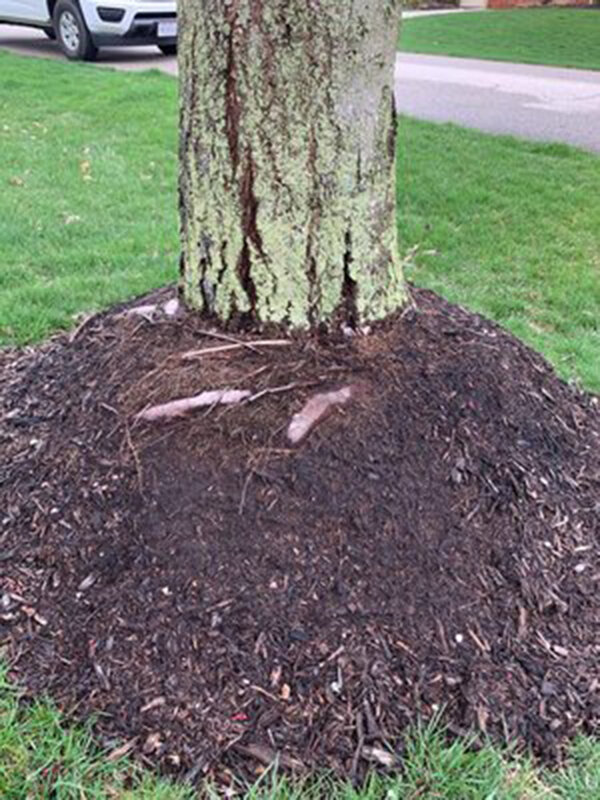
  9. Apply a couple inches of mulch on top of the soil! Keep the trunk exposed and not covered with soil and also avoid creating a mulch volcano in order to minimize the risk of stem girdling roots. We shaped a small, subtle and almost unnoticeable moat around the perimeter of the elevated soil level to help water flow and soak towards the trunk.

  10. Water the mulch!

  11. And voila, your tree is now planted! Or in this case, this beautiful kwanzan cherry tree is now planted! If there are any tags on the tree, you can remove them now if you have not done so already. Optionally, TJ also made a few minor pruning cuts but this is not always necessary.

The first year is vital for a newly planted tree’s survival so make sure that it does not lean over, that it does not get chewed on or rubbed by any animals like deer, and that it gets properly watered, which can be once to twice per week depending on the season, your local climate, and the way the tree is packaged. You can optionally use a tree trunk guard or posts to help protect your tree and keep it straight but it may not be necessary depending on where you live.

I personally would like to give the hugest shoutout to TJ, Cindy, and Mark for donating and planting this tree. Earlier this year, my sister passed away and she loves kwanzan cherry trees. She loves their spring colors, has posters and images of them in her room and on her phone, and uses the Japanese cherry blossom scent for all her Bath & Body Works products. This sentiment is incredibly touching and meaningful and I cannot be more appreciative.

As mentioned earlier, linked down below is a step-by-step YouTube video you can follow along with as well as a few related tree planting articles! Hopefully you found this article educational and entertaining!

HOW TO PLANT A TREE BY AN ISA BOARD CERTIFIED MASTER ARBORIST

ADDITIONAL READS

How to Mulch Around a Tree
by Enrique Arayata

10 Trees with Amazing Fall Color… And One You Should Avoid!
by TJ Nagel

Why Can’t I Plant a Tree Just Anywhere?
by Enrique Arayata

Planting Trees for a Purpose
by Mike McKee


Sincerely,

Enrique Arayata I Media Production Coordinator, Russell Tree Experts

Enrique is a fifth year student at The Ohio State University majoring in moving image production with a double minor in film studies and photography. In his free time, he enjoys fitness, technology, cars, videography, photography, and cooking.

17

Seventeen years ago near this season I was starting my second year as an arborist in training. A few months more into the year and I would be applying to the ISA to sit for the Certified Arborist examination, which thankfully I would pass. At this point in my career, I was fortunate to be working under a foreman who was (and is) passionate about trees, so as I learned primarily about climbing and pruning, I was also being taught about CODIT, tree identification, and common tree pests and diseases.

How to Mulch Around a Tree

Dear Readers,

Mulching is an important aspect of tree maintenance that is both functional and decorative, adding to your tree’s lifespan and helping it look its best. The main benefits of tree mulching are that it deters weeds, improves soil quality, protects trees from lawnmower damage, insulates soil from extreme temperatures, and retains moisture during hot weather. Today, I would like to talk about some tips and tricks on how to properly mulch a tree. At the top of this article is an instructional video hosted by ISA Certified Arborist Lindsey Rice that can be used to follow along while mulching your own tree!

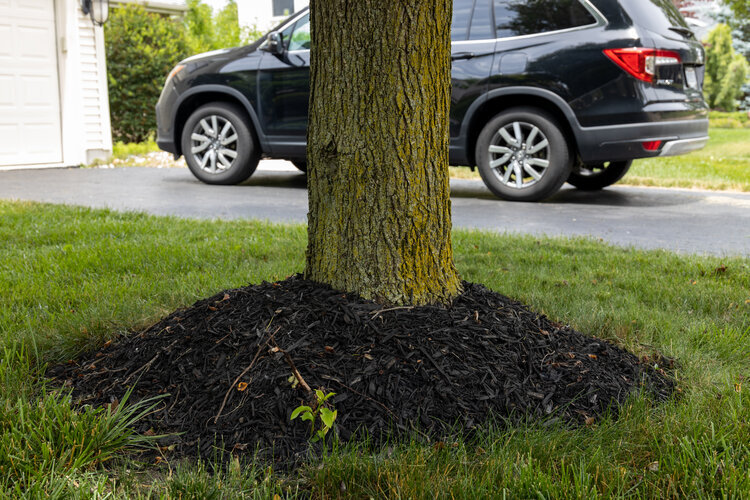
Example of a properly mulched tree

Example of a properly mulched tree

To mulch a tree, you will need organic wood chip mulch, a shovel, a rake, and personal protective equipment such as safety glasses, gloves, and boots. A wheelbarrow or air spade may potentially be needed depending on the situation. The best time to mulch a tree is in the fall or spring. Many trees are incorrectly mulched when the mulch is too high or when it covers the root collar of the tree, which is where the trunk and roots meet. The mulch only needs to be 1 to 2 inches deep and the root collar should be completely exposed in order to properly receive oxygen. This will help prevent girdling roots, which are roots that wrap around the trunk in search of oxygen. This can suffocate a tree and add unnecessary stress. If your tree has girdling roots or a mulch volcano, you will need to resolve these issues prior to mulching.

If there are no girdling roots, the first step is to pull out any weeds surrounding the base of the tree. Then, you may begin applying mulch in a wide and evenly spread area. For younger trees, it is ideal to mulch all the way out to the canopy drip line, which is where the majority of a tree’s roots extend, but you may have to compromise depending on your landscape.

Example of a canopy drip line

Example of a canopy drip line

For older trees, this is not as important. You should still see similar results when bringing the mulch out about 3 to 5 feet from the base. You can use a rake, shovel, or your hands to evenly distribute the mulch. The mulch only has to be about 1 to 2 inches deep at most, so make sure you avoid mounding, Leave about 2 to 3 inches of space between the mulch and the root collar in order for the tree to properly receive oxygen and to prevent girdling roots. This will also help prevent any moisture issues, which can lead to disease and rotting. Afterwards, you are all set!

For maintenance, water your mulch whenever it looks dry. Ohio can have inconsistent weather, so there is no need to water it on a scheduled basis. Also, only add mulch whenever it is looking sparse and below that 1 to 2 inch needed depth. Make sure you break up, turn over, and mix in the old mulch to prolong the mulch’s lifespan, prevent any clumping, and to allow maximum movement of oxygen and water. If there are any questions, please feel free to leave them in the comments section below and be sure to watch ISA Certified Arborist Lindsey Rice’s video for a visual guide on this topic! Good luck on your next mulching project!

Additional Reads!

Below are two excellent articles written by our ISA Certified Arborists related to mulch volcanoes and girdling roots.

”Mulch Mounds! Oh My!”
by ISA Board Certified Master Arborist José Fernández

“Are Your Trees Being Suffocated By Their Own Roots?”
by ISA Certified Arborist Chris Gill

Enrique Arayata Headshot.jpg

Enrique Arayata I Video Production Assistant, Russell Tree Experts

Enrique is a third year student at The Ohio State University majoring in moving image production with a double minor in photography and film studies. In his free time, he enjoys running, spending time with his girlfriend and family, photography, and creating YouTube videos.

How to Verify a Certified Arborist Credential

210406-cert-arb-lindsey-v3.jpg

Recently, it was brought to my attention that there are some people performing tree work in the area claiming to be “certified arborists” when in fact, they are not. So… how can you tell if someone is telling the truth? One way is to ask for a business card or ask for their ISA Certified Arborist® credential number which will be in the following format: [state abbreviation] – [four digits] [letter]. Here is an example of a business card (mine!) with the credential number explicitly listed:

210401-isa-certification-check.jpg

The best way to verify this credential number is to search on the ISA Certified Arborist® database. Simply go to treesaregood.org, click the “Find an Arborist” section then choose “Verify a Credential.” From there, enter the credential certification number and submit the request to see if the credential is in fact genuine.

210401-isa-certification-check-2 copy.jpg

Over my time working at Russell Tree Experts, I’ve sadly heard countless stories of “door knockers” coming by a person’s home and ruining their beloved tree. It’s a very sad occurrence in our industry and we hope through education these stories can lessen.

Improper tree work not only can cause irreparable damage to the tree or property, but there is also potential for spreading disease to nearby trees and affecting others’ landscapes. Tree care can also be very dangerous work, for both the property owner and the person doing the work. We highly recommend hiring an ISA Certified professional (even if it’s not us!) with the proper equipment, knowledge, and experience to perform your challenging tree work. The health of our environment relies on proper care for our trees so we may enjoy their countless benefits from improving air quality to providing homes for wildlife and beyond!

We’re very proud to have 19 ISA Certified Arborists® on our staff! Feel free to double-check their credentials at treesaregood.org! :)

isa-cert-list-v2 copy.jpg
lrice.jpg

Lindsey Rice | Office Manager, Russell Tree Experts

Lindsey joined Russell Tree Experts in 2015 with a B.S. in Agribusiness and a minor in Horticulture from The Ohio State University. Growing up in Northwest Ohio, she participated in various sports, band, and FFA which ultimately inspired her love for the tree industry. She loves to spend her free time outdoors with her husband and daughters.

New Disease Control Measures for Oak & Elm Trees

… I hope everyone is having a great week and enjoying this sunshiny weather! I love being able to get outside with my girls and get some vitamin D and open our windows and get some fresh air. With spring around the corner, I wanted to bring to your attention that Russell Tree Experts is implementing some new Oak tree and Elm tree safety procedures to ensure the health and safety of these types of trees in the Columbus area.

Where’s the Fruit?

As an arborist, I often feel like I need to double as a detective. Trees, obviously, cannot tell us verbally how they are "feeling" or why they are behaving in a certain way. We have to look for clues as to what is possibly going on with them. When I am asked why a tree is performing poorly, oftentimes I need to swap out my helmet for a Sherlock Holmes cap and start digging around, asking questions of the tree's caretaker and standing back to observe the environment in which the tree exists.

Understanding Conifers

Understanding conifers should begin with a few simple definitions to clarify and classify. A conifer is a plant that bears its seeds in cones. When we hear the word cone, we likely think of pine and spruce trees, two types of coniferous trees that are widely found throughout Central Ohio and beyond. Their cones are obvious when they fall and scatter on the ground surrounding the tree. But did you know that yews (Taxus) and junipers are also conifers?

How do you become a Certified Arborist?

Have you ever wanted to become a Certified Arborist? The first step is developing an interest in trees: species, habits, ideal growing conditions, diseases, pests, structure, life cycle. An inquisitive mind is a great asset for any arborist. Any question about trees is a good question! Now that your curiosity is piqued, the next step in developing your arboreal skills is finding the answers!

Leave Those Leaves!

Of all of our seasons, I’ve heard more people proclaim their love of fall than any of the others. It marks an end to the uncomfortable heat of summer and traditionally represents a time when we reap the gifts of the harvest and prepare for winter. And for several weeks, our trees also gift us with a wonderful display of color. Everyone has a favorite - the brilliant orange of our native sugar maples, the rich yellow of the non-native maidenhair tree (Ginkgo), the reds, purples, and browns of oaks.

What's Going on with My Oak? Part 2

Earlier this year, we shared an article that highlighted two issues that were tied to recent weather patterns and had many homeowners concerned about their oak trees - one was an insect (Oak Shothole Leafminer) and another was a fungal pathogen (Oak Anthracnose). Combined, they made for unsightly leaves that were riddled with holes and brown patches. Fortunately, both issues were more of an aesthetic concern than anything else, and neither of them required treatment or had any lasting effects on the overall health of the trees. In fact, they are both likely to occur each year to some degree and should not be reason for concern.

Best Practices for Watering Your Trees

Last Fall I planted a Nikko maple (Acer maximowiczianum) for one of my neighbors. Somewhat uncommon, Nikko maple is a small statured, 20 - 30’ at maturity, trifoliate, hardy tree with nice fall color. It has good urban tolerance and was a good fit for its location with overhead utilities. I have been watering this tree somewhat regularly with a large watering can that I can easily carry across the street and have been pleased with the healthy appearance and good amount of new growth that has emerged this year. As far as I could tell the tree looked great so you can imagine my surprise when I came home recently from a long weekend getaway and discovered that the top half of the tree’s canopy had turned brown.

How to Beat the Winter Blues

I look out the window gazing upon the barren winter landscape. I miss the vibrant green leaves on my fragrant viburnums. I miss the beautiful red flowers on my roses. I even miss watching the bees in search of nectar dancing from one pesky dandelion to the next. Most of all I miss the sun and spending my evenings cultivating a new season’s garden. I feel safe to say I have succumbed to the winter blues…

Bend So You Don’t Break

Last summer, I had the opportunity to introduce our field staff to the practice of yoga. In heavy work boots and on a hard concrete floor, we made our way through Triangle Pose, Downward Facing Dog, and even a few Sun Salutations. Practicing yoga for 20 years and teaching it for the last 10, I’ve learned that the stretches and postures of yoga can help keep the joints and soft tissues of our body, like muscles and tendons, healthy and functional.

Growing Degree Days

This semester I am enrolled in a class called Integrated Pest Management, taught by Dr. Luis Cañas at The Ohio State University. One of the first lectures we had was centered around the effects that the environment has on insect populations. As we explored this theme we soon came across the concept of “growing degree days”, and I was reminded of how useful this idea is to increase awareness of what is happening in the natural world around us and to be aware of when potentially damaging insect pests are about to emerge.

Oak pruning, fascinating tree facts, and other thoughts

Here we are, fresh out of the holiday season, and the end of January is in sight! I wanted to reach out to you with some timely advice concerning trees, some reminders of why trees are so essential to life as we know it, and perhaps some other thoughts that might sneak out through my fingers as I type.

"Can you recommend a tree that is not messy?"

“Can you recommend a tree that is not messy? One that will not drop fruit, or twigs, or stuff all over the place.” This is perhaps the request I run into the most when someone wants advice on what trees to plant. The first time I heard this one I had to fight the urge to smile and reply that yes, there are trees like that which also happen to be disease-free, not attacked by any pest, grow quickly (instantly, in fact) to the desired size, shape, and color you want them to be and never need to be pruned…